Steps to Register
Login to MySPC using you current username and password. Mozilla Firefox  or Internet Explore
![]() are recommended browser.
are recommended browser.
1. Under TexanConnect select Student Registration/Planning and then select Student Planning

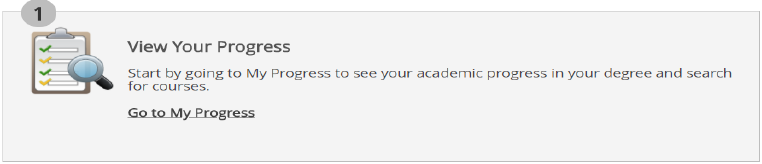
2. Select View Your Progress/Go to My Progress
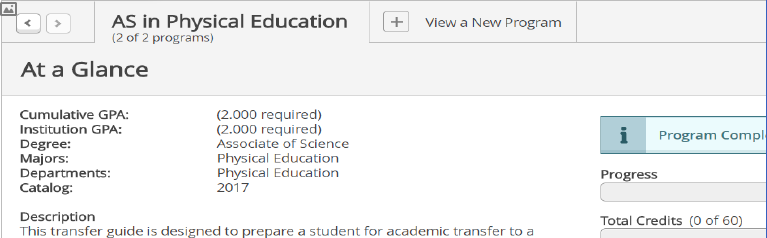
3. Verify that your program of study is correct. On this screen you will find your degree audit. Scroll down to find the courses you need to complete your program of study.
4. Click on the course you want to add from the list of program courses required.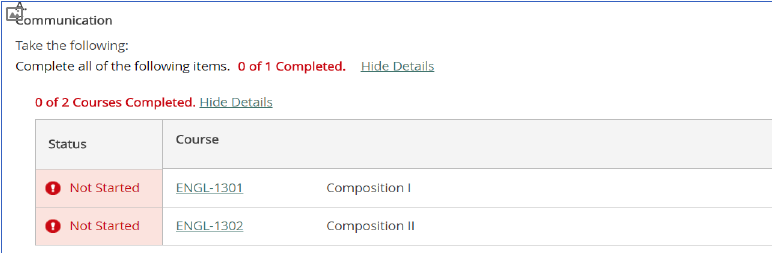
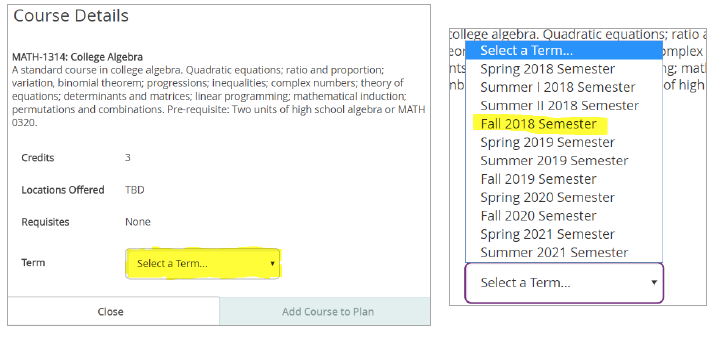
5. Read course description and Requisites (if needed)
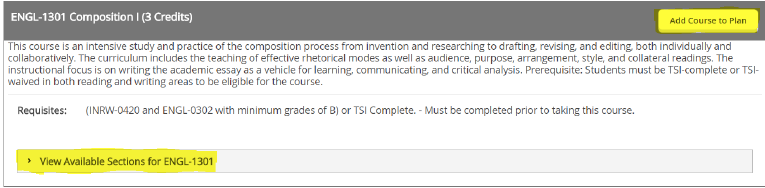
6. You can click Add Course to Plan. A Course Detail screen will pop up and you will need to Select a Term for the course you are adding. Once you select the term click Add Course to Plan.
7. You can Filter Results as needed by selecting a specific: Locations, Days of Week, Time of Day, Instructors, or Instruction Type.

8. Click the View Available Selections for ENGL-1301. This will allow you to add a specific section of the selected course to your schedule that meets your filtered criteria.
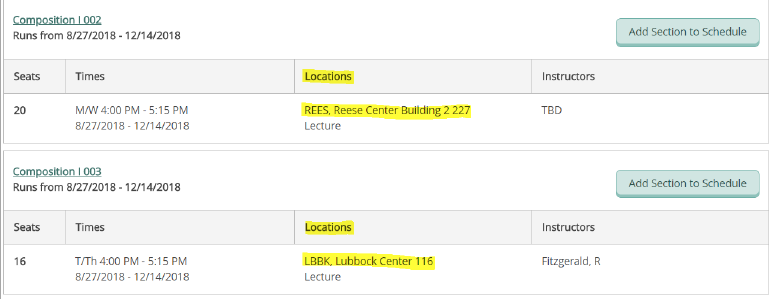
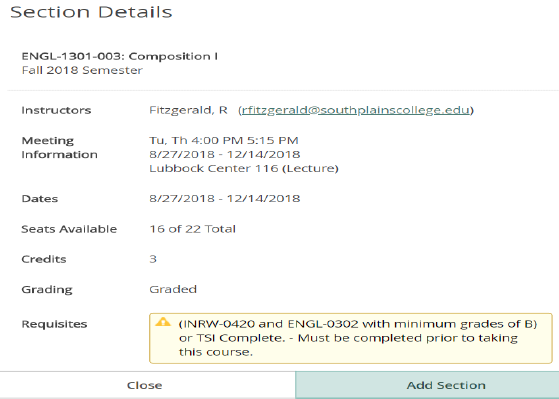
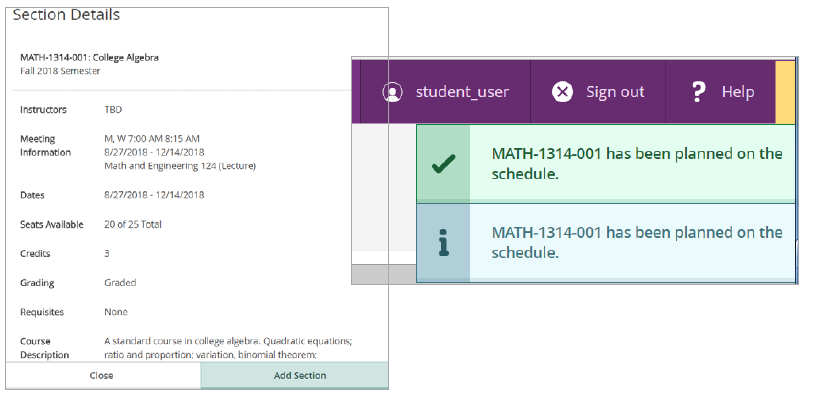
9. Select the course you want and click Add Section to Schedule. This will pop-up a Section Details window containing information specific to that section. Please check the Meeting Information, Requisites, and Course Notes (if any provided). Click Add Section once more.
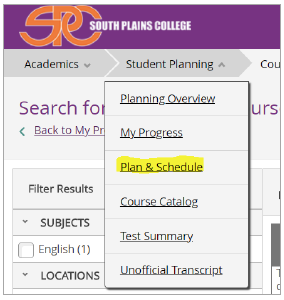
10. After you have added your class you need to hover over the Student Planning menu at the top right hand of the screen and select Plan & Schedule.
11. You are then taken to the Plan Your Degree and Schedule Your Courses screen.
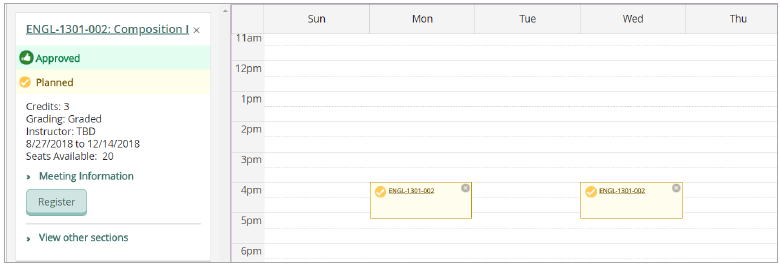
12. If you added a specific section to your schedule, the course will show up in the calendar. Yellow courses indicate the course is planned not registered. You will also note the class is listed on the left side of the screen next to the calendar.
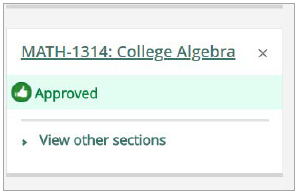
13. If you added a course to your plan but did not select a specific section, then the course will only appear listed on the left side of the screen. You will need to select a specific section/time for this class.
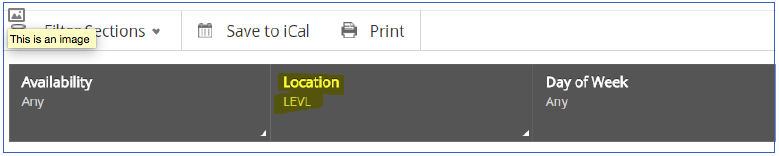
14. First you will want to select the Filter Sections drop down menu and filter as wanted by: Availability, Location, Day of Week, Time of Day and/or Instructor.
15. Now you can select the View Other Sections. All sections that meet your filters for the course will appear both below the course listed on the left side of the screen, and the calender view.
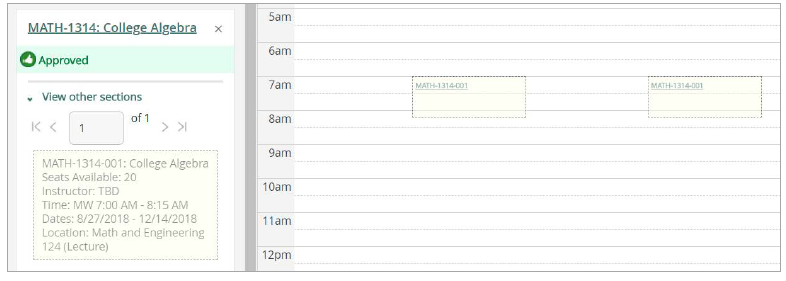
16. You can now see how the courses appear in your schedule. Once you have decided on the course you would like to take, simply click on the course title either on the calendar or in the list on the left side of the screen.
17. Verify the Section Details and select Add Section.
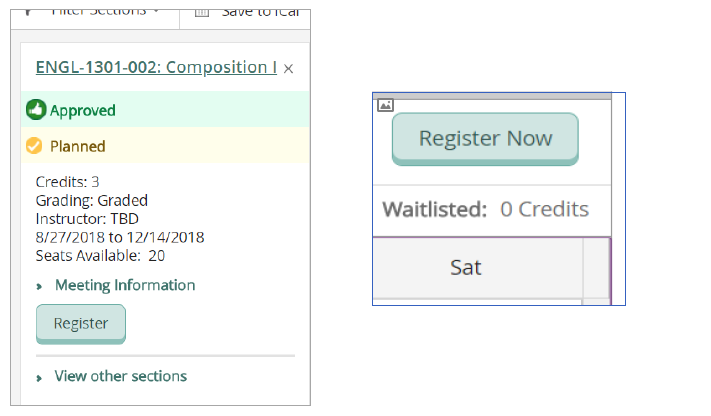
18. Once you have planned your courses, you can register for all planned courses by clicking on the Register Now button located above the calender on the right side of the screen or register for individual courses by clicking on the Register button located under each course listed on the left side of the screen.
19. Once your course on the calender turn green, you have sucessfully register for classes. You will also see on the left side of the screen the courses now show that you are Registered, but not started and the Register button has now been changed to Drop. Please note above the calendar your: Planned, Enrolled, and Waitlisted credit totals.

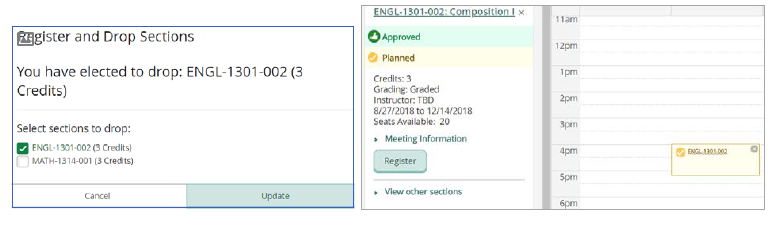
20. Should you need to drop or change your schedule simply click on the Drop button for any courses you wish to drop, select the course(s) and click Update. The course(s) are unregistered but remain on you calendar as Planned. To remove a planned course from your schedule/calendar click on the X at top right of the course either in the calendar or in the list of courses to the left of the calendar.
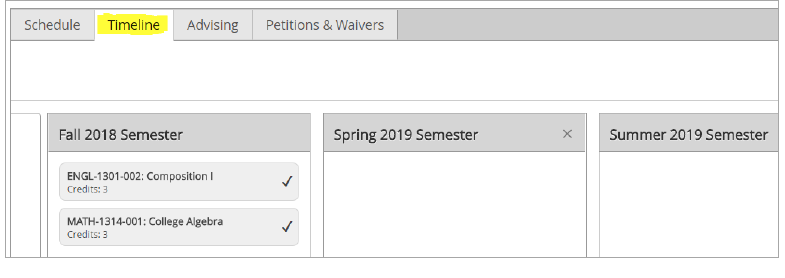
21. You can view your planned courses for each semester by clicking on the timeline tab at the top.
Remember to make payment or set up a payment plan!